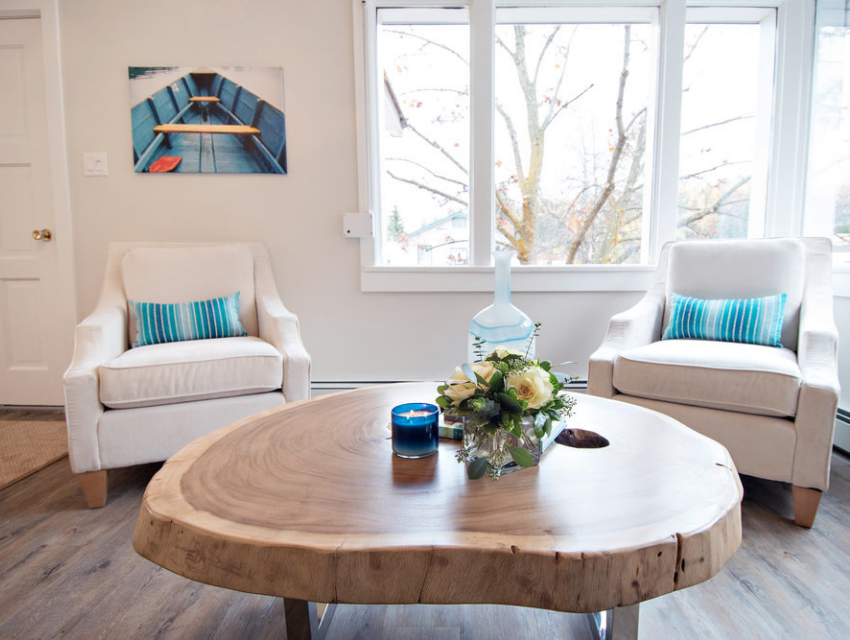
How to Furnish Your Home Following Our Airtight Process
We’ve all seen the incredible transformations that come from whole-home makeovers... dated homes renovated into delightful, modernized masterpieces... worn-out kitchens that get a new lease on life with a whole new floor plan and look.
But what if I told you that sometimes all it takes to breathe new life into a space are updated furnishings?
Maybe you’ve lived in your home for decades and know that yesterday’s space needs some help melding with the fresh styles of today. Maybe you’ve just built or purchased a home and are ready to furnish the space and make it your own. Maybe you’re hesitant to make big furniture purchases without some confidence that your selections are the right ones.
No matter your situation, our simple 4-phase furnishing process is guaranteed to transform your home in brilliant and beautiful ways.
Curious what that looks like? Let’s dive right in...
Phase 1: Getting to Know One Another
The Discovery Call
When you first reach out through our website, a phone call, or an email, we will schedule a complimentary 15-minute discovery call. This call allows you to ask me questions about the services I provide, and helps me gather a bit more information about your project and what level of service you require. Throughout this brief chat, we can also both determine if we are a good fit to work together. (It’s amazing what you can deduce from a short conversation…)
The Questionnaire
If we’ve agreed to work together, it’s time to get started! I will send you an exciting questionnaire that is a combination of multiple choice and short answer questions. Your answers to these Q’s will not only explain your project in greater detail, but will also give me invaluable insight into your lifestyle, likes and dislikes. All important details for a successful project together.
At this point, I will also ask you to send me photos of the space you wish to design, along with any inspiration boards of photos you’ve collected from Pinterest or Houzz. These images give me an idea of your style and the colour schemes that make you feel at ease. Oftentimes, I find that clients think they know their style… but then I realize there is a disconnect between what they are saying they like and the actual inspiration photos they show me. And you know what they say about photos… they speak 1,000 words! ;)
The Initial Consultation
After you’ve completed your tasks and I’ve had some time to digest all of the information you’ve provided, we will schedule our in-person consultation. During this time together, we will review your questionnaire and further discuss your wants and needs for the space.
We will also talk about the investment level of the project and how we will allocate the budget for the items needed. I will suggest some initial design ideas for the floor plan and materials, and create a list of items in the room that are staying, as well as those that we will be replacing. (And if you’re starting from scratch with a new home, then we will decide exactly what you want included in that particular room.)
I will wrap up by taking more photos of the space, alongside detailed measurements of the room and any existing items of furniture that will be used in the new design. The pieces of the design puzzle are starting to come together…
The Design Portal Setup
With all of this information in hand, I’ll set up your personal online design portal, which holds all of the information related to your project. There are sections for photos, project plans, estimate files, and more. As we go along and recommend items for the project, each of those will be added to the online portal/studio for your acceptance prior to me ordering and purchasing the piece. It is a very handy, fun, and streamlined software!
The Contract
At this point, you will be asked to sign a contract stating the scope of work for the project and estimated design fees. Once the contract has been signed, we move into phase 2...
Phase 2: Sharing and Revising the Design Concept
This is the exciting part! Keeping in mind everything that we have learned from you so far, as well as the ideas we have formed for your space, my Design Assistant and I will create a concept board that includes choices for different aesthetics of furniture and accessories for each room we are furnishing. There may be a couple different styles of area rugs, coffee and accent tables, lighting, sofas, wall and fabric colors, etc.
The Concept Boards are not the exact furniture selections for your space, but are meant to represent the direction of the design and the overall look and feel. (In reality, selecting the exact furnishings for your project is a process that takes many hours… so we have to make sure we’re headed in the right direction first!)
I’ll present this Concept Board to you in person and gauge your reaction to each item...noting likes and dislikes, and gathering your honest feedback. For example…
Sample client concept board from a recent project. I love the geometric nature of the furnishings and the cool tones of the colour palette!
Sample client concept board from a recent project. Isn’t the combination of warm and cool colours just incredible? Such a cosy-feeling aesthetic.
The purpose of the concept board is to firmly establish your design style. Once we’ve approved the direction, we move into Phase 3…
Phase 3: Finalizing the Furnishings and Floor Plan
The Style Board
Based on your feedback, revisions, and reactions to the concept board we presented earlier, my team and I will draw up a “Style Board” for your project. This board includes the items that we have sourced and are recommending for the redesign of the space. There may be a couple of options for a sofa (if the space being furnished is a living room), as well as specific options for accessories and decor, and of course paint and fabric selections.
The Style Board is then presented to you in person, along with any samples that are pertinent to the project — so you can see and feel them in person! At this time, we will discuss the pricing for each piece, as well as estimated timelines for the items to arrive, so you can make an educated decision.
If any of the items that we have sourced are not appealing to you, our feelings will not be hurt. We will source alternate options and present them on a second visit. Remember...this project is all about YOU!
Sample client style board from a recent project. See how we turned the concept board (above) into a more complete design picture?
Sample client style board from a recent project. Compare this to the concept board above…see how a more traditional concept turned into a contemporary style board?
The Floor Plan
During this same visit, I’ll share with you a scaled drawing of the intended floor plan, which shows exactly where each item will be placed. With the design software that my team and I use, you’ll also have the option to have the floor plan conveyed as a 3D conceptual design. (Some clients find viewing their design in a 3D format easier to visualize. I don’t blame them!)
Sample client floor plan from a recent project. This is where clients really start to see their space come to life.
Sample client floor plan from a recent project. Notice all the details…rugs, furniture, doors, windows, etc. This all plays into the final design.
And once you’re in love with the style board and floor plan, we move onto phase 4...
Phase 4: Shopping and Scheduling
The Shopping Trip
When furnishing a space, there are items that I prefer to shop for in person, while there are others that can simply purchase online (especially when they aren’t available to view in person).
Because of this, you and I will schedule a time to meet at a local furniture showroom, so that you can “sit test” the larger items, like sofas and accent chairs, to ensure proper comfort. Plus, sometimes it is just helpful to see these pieces in real life. After all, they are a significant investment, and we always want you to love them!
The Pricing Presentation
Once all of the items have been decided upon and our shopping trip completed, I’ll present the pricing quote. Then, you and I will discuss the final investment amount. We want you to love your space, but also be comfortable with the overall budget.
The Final Delivery and Reveal
Once you’ve approved the total investment, I’ll get to ordering. It sounds simple, but there’s actually quite a lot to it! We track shipments, receive the items, inspect them for quality, and then arrange a final “Reveal Day” to set up your space, and complete the project...
You get to come home to a personalized, curated collection of furniture that has transformed your home for the better!
Oh, and a few weeks later, we will check back in with you to confirm you’re still loving everything. We want you to be head-over-heels with your space well after the reveal!
One final, quick word of caution...if you’re thinking about taking on a re-decoration or furnishing project, make sure to plan ahead. Because this process can involve creating a custom design, most of the furniture and fabrics will be ordered rather than purchased directly from the showroom floor. This might mean a timeline of as little as 8 weeks, but also may be as many as 20 weeks. If you’re trying to plan for completion by a certain special occasion, make sure to book with us well in advance so we can do our best to have everything arrive on time.
Well, there you have it — our home furnishing process from start to finish. Quite a bit more than meets the eye, isn’t it? if this process sounds like the perfect fit for you, let’s talk!
I’d be honoured to furnish your home in a way that you will love and enjoy for many, many years to come.
Until next month,
Adrienne
All photos by Stephanie Moore Photography


